
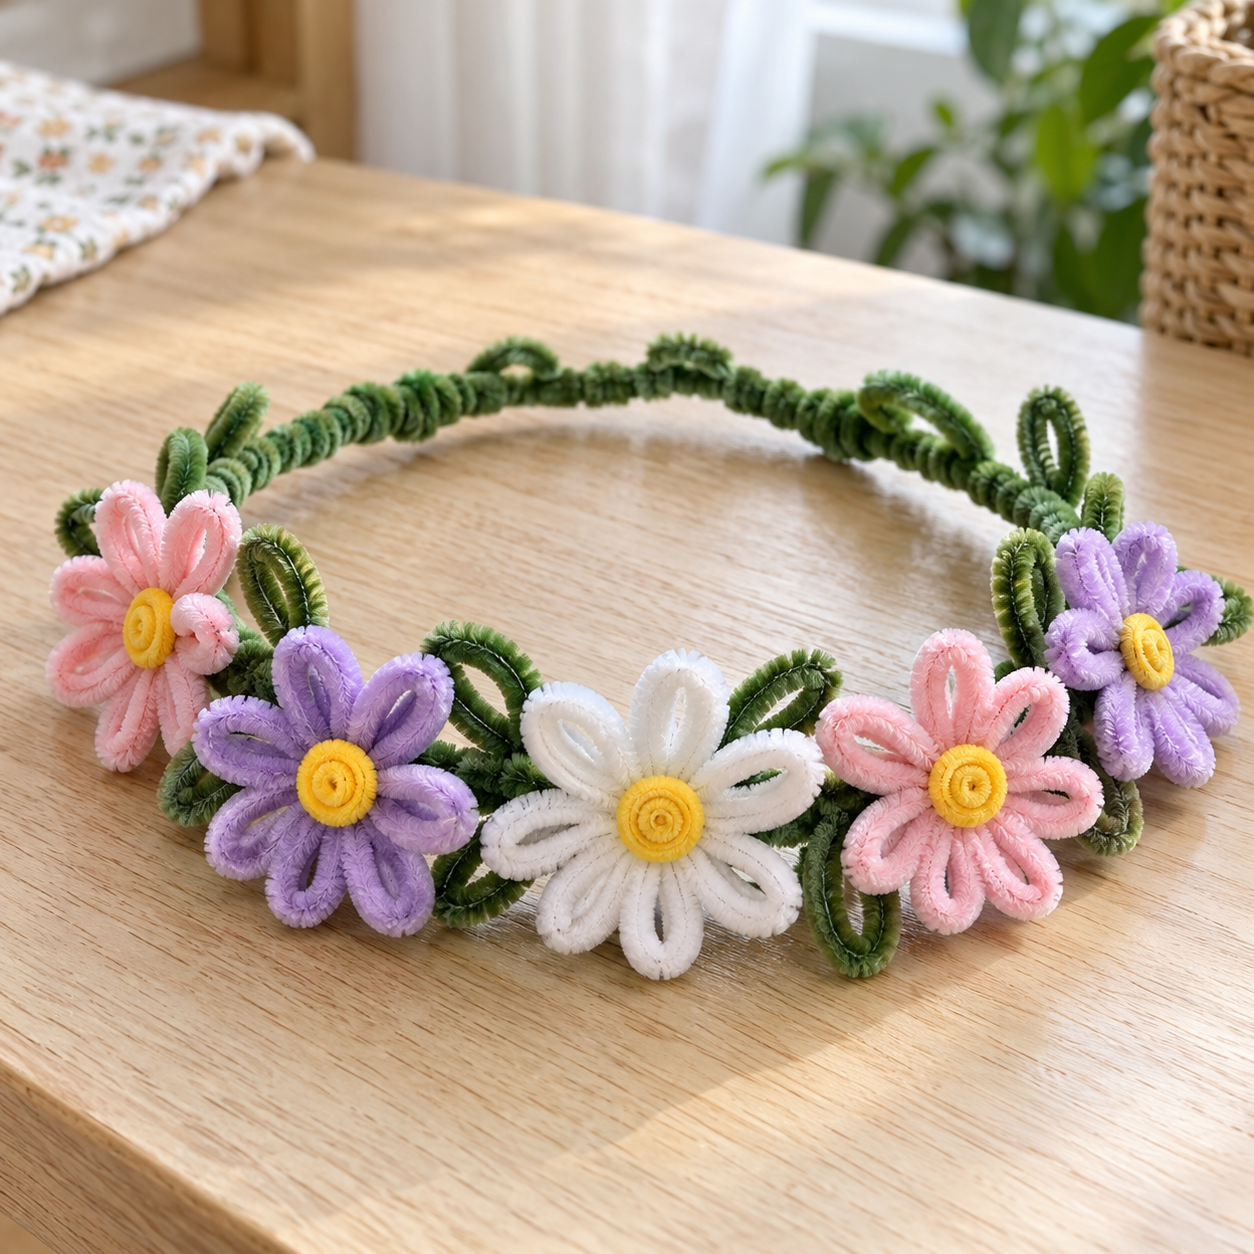
A few pink petals, a yellow center, and suddenly the craft table starts looking like a little flower shop. This pipe cleaner flower crown is a lovely project for kids who enjoy making things they can actually wear.
Choose soft pastels for a fairy costume, bright colors for a birthday crown, or whatever shades are left in the craft drawer. The flowers don’t need to match, and slightly uneven petals give the finished crown its own personality.
This version uses simple looped flowers attached to a green base. There’s no drying time, so once everything is secured and checked, the crown is ready for dress-up.
Supplies You’ll Need
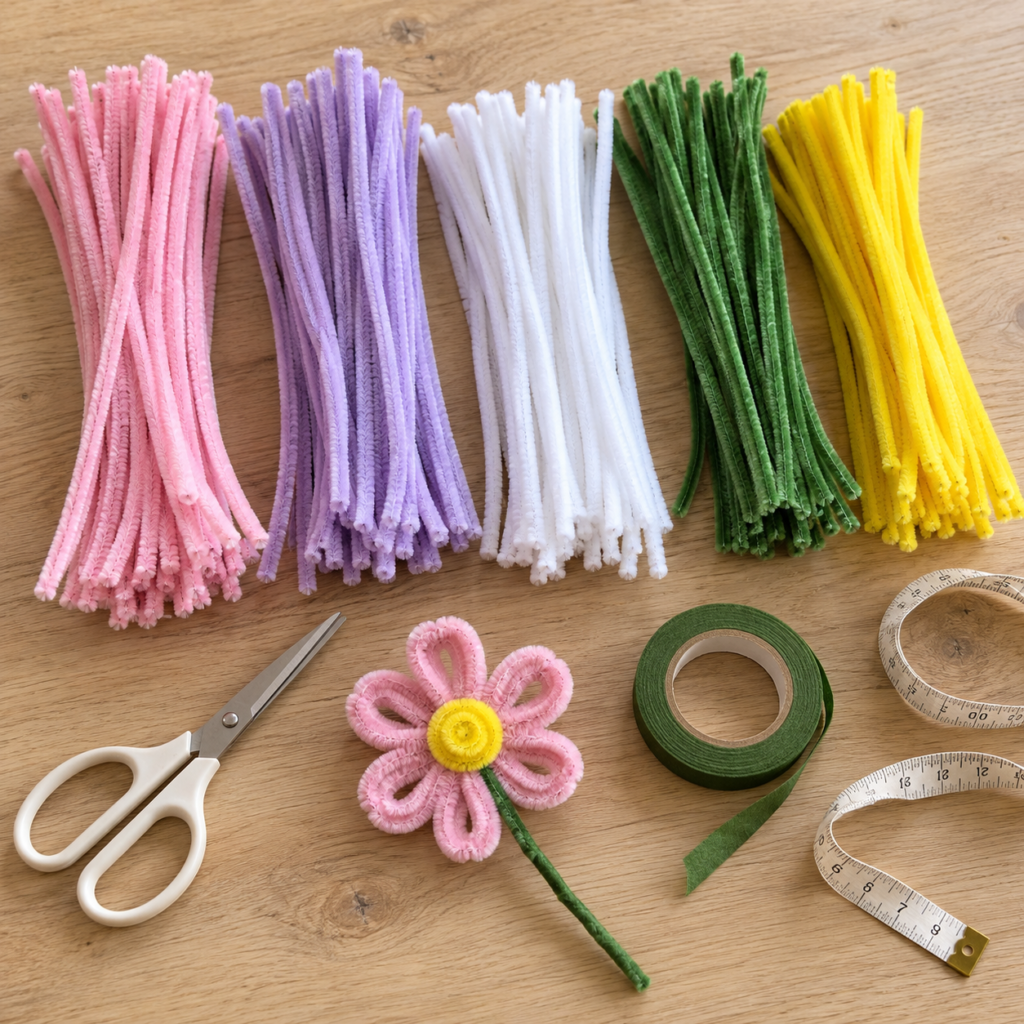
Set out the following materials before you begin:
- Regular craft pipe cleaners in your favorite flower colors
- Green pipe cleaners for the crown base and attachments
- Yellow pipe cleaners for the flower centers
- A flexible measuring tape or a piece of string
- Scissors, handled by an adult
- Optional floral tape for covering joins
For each six-petal flower, allow three colored pipe cleaners, one yellow pipe cleaner, and one green pipe cleaner. You’ll also need extra green ones for the base. Start with three flowers across the front, then make more if you want a fuller crown.
Craft note: Pipe cleaners contain wire. An adult should handle cutting, tuck away exposed ends, and check the finished crown before a child wears it.
How to Make a Pipe Cleaner Flower Crown
1. Measure and Shape the Base
Use a measuring tape or string to measure where you want the crown to sit. Keep the fit comfortable, with a little room so it won’t press against the forehead.
Join green pipe cleaners end to end, overlapping the ends and twisting them securely. Continue until you have enough length for a ring, then connect the two ends.
Try the plain ring on before adding decorations. Make any size adjustments now, while the base is still easy to handle.
For a sturdier base, wind another green pipe cleaner around the ring, continuing with additional pieces as needed. Keep the joins smooth and turn every wire tip inward against the base.
2. Make Three Pairs of Petals
Take one colored pipe cleaner and find its midpoint.
Bend one end back toward the midpoint to create a loop. Twist the end around the middle to hold it in place. Repeat with the other end, making a second loop on the opposite side.
You should now have a shape that looks a little like a bow.
Make two more matching pieces. These three pieces will become the six petals of one flower.
Keep the loops rounded for a daisy-like shape, or gently pinch their tips for narrower petals.
3. Assemble the Flower
Stack the three petal pieces at their centers, turning each one slightly so the six loops spread around the middle.
Wrap a green pipe cleaner around the stacked centers to hold them together, leaving its remaining length underneath for attaching the flower later.
Adjust the petals with your fingers until they sit evenly. Don’t worry if one is a little larger than the others; you can reshape it after the center is added.
4. Add a Yellow Center
Curl one end of a yellow pipe cleaner into a small, flat spiral. Stop when the spiral is large enough to cover the flower’s middle.
Place it over the petal joins. Guide the remaining yellow length between two petals and wrap it around the green attachment underneath.
Tuck the end securely behind the flower. The spiral should sit flat without wobbling.
Repeat these steps until you have enough flowers for your design.
5. Arrange the Flowers Before Attaching Them
Lay the crown on the table and place your flowers beside it.
For a simple design, position one flower in the center front and one on each side. Leave the back mostly green so the crown stays light and comfortable.
Try different arrangements before securing anything. A large pink flower between two smaller white ones looks sweet, while three different colors make a cheerful birthday crown.
6. Secure Each Flower to the Ring
Hold the first flower against the outside of the base. Wrap its green attachment around the ring until the flower stays in position.
Keep the flower facing outward, with the wrapped joins underneath or behind it. Add the remaining flowers, checking their spacing as you go.
Fold any leftover wire ends flat against the base. Cover rough joins with floral tape if needed.
7. Make the Final Adjustments
Gently lift or spread the petals so the flowers face the direction you want.
An adult should check the entire inside of the crown for exposed wire tips before the child tries it on. If it feels tight, scratchy, or heavy, adjust it before wearing.
Little Changes That Make Each Crown Different
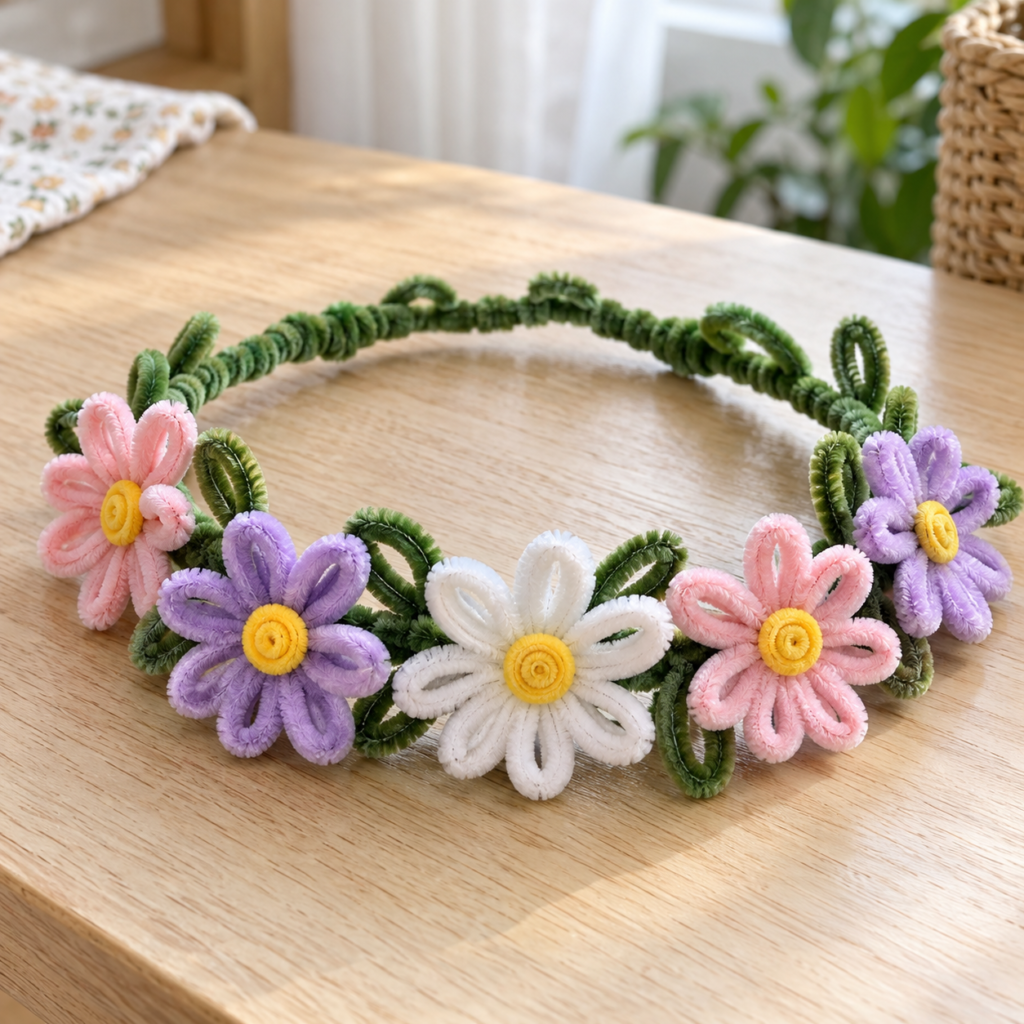
Let children choose a small detail that makes their crown feel like their own.
A garden crown: Use pink, white, and yellow flowers with plenty of green showing between them.
A rainbow crown: Make each flower a different color and arrange them across the front.
A fairy crown: Try lavender and pale blue petals with a few small green leaf loops.
A birthday crown: Place one oversized flower at the front and smaller flowers beside it.
You can also make a matching flower bracelet using the same petal technique on a separate, comfortably fitted base.
Tips for Crafting With Kids
Make one sample flower first so children can see how the pieces fit together. Then let them choose colors, shape petals, and decide where each flower belongs.
If their hands get tired, divide the project into two sessions: flowers first, crown assembly later. Precut pieces can also make the activity easier to manage.
There’s no need to fill every space. A crown with just a few carefully placed flowers can look lovely and is easier to wear.
How to Store the Finished Crown
Place the crown in a shallow box where the flowers won’t be crushed. Keep it dry and avoid stacking heavy toys or craft supplies on top.
Before wearing it again, reshape any flattened petals and check that the attachments are still secure.
Frequently Asked Questions
Do I need glue?
This version uses twisted pipe cleaners to hold the pieces together, so glue isn’t necessary. If a flower moves around, tighten its attachment to the base.
Can I use different flower sizes?
Yes. Smaller petal loops make compact flowers, while larger loops create a fuller look. Keep heavier flowers toward the front and use fewer of them if the crown starts to sag.
What if the crown keeps slipping?
Remove it and adjust the base to fit more comfortably. Reducing the number of flowers may also help if their weight pulls the crown forward.
Can we make the flowers ahead of time?
Yes. Prepare the flowers separately and leave their green attachments unwrapped. At craft time, children can choose their favorites and help arrange them on the crown.
Once the last petal is shaped, the best part is seeing what happens next: a garden parade, a fairy adventure, or a very important tea party with every stuffed animal invited.