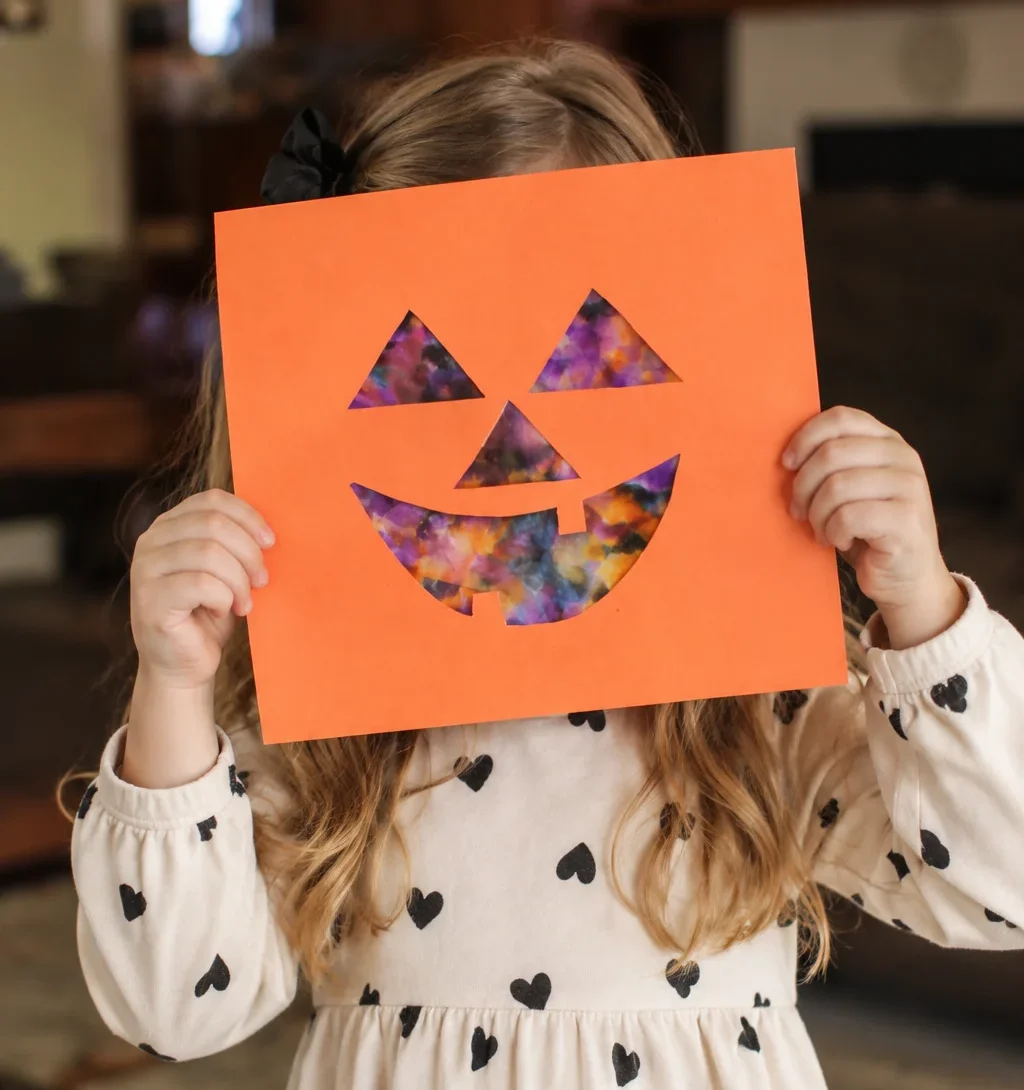
Some Halloween crafts look adorable when they’re finished but somehow require seventeen supplies, an hour of prep, and an adult doing most of the work. This isn’t going to be one of those.
This easy Halloween art project for kids is all about giving children a few simple materials and letting them make something spooky, silly, and completely their own.
I especially like Halloween art that doesn’t need to look exactly like the example. A crooked ghost, an enormous pumpkin smile, or a bat with uneven wings usually has a lot more personality anyway.
You can set this up after school, save it for a rainy October afternoon, or use it as a quiet activity before Halloween night. Most of what you need is probably already hiding in your craft drawer.
And yes, put something washable under the paper first. I’ve learned that particular Halloween lesson more than once.
Easy Halloween Silhouette Art
The idea is simple. Kids create a colorful Halloween night sky, then add dark Halloween shapes over the top.
The contrast makes even very simple shapes stand out, so younger kids don’t need complicated drawing skills to make something they’re proud of.
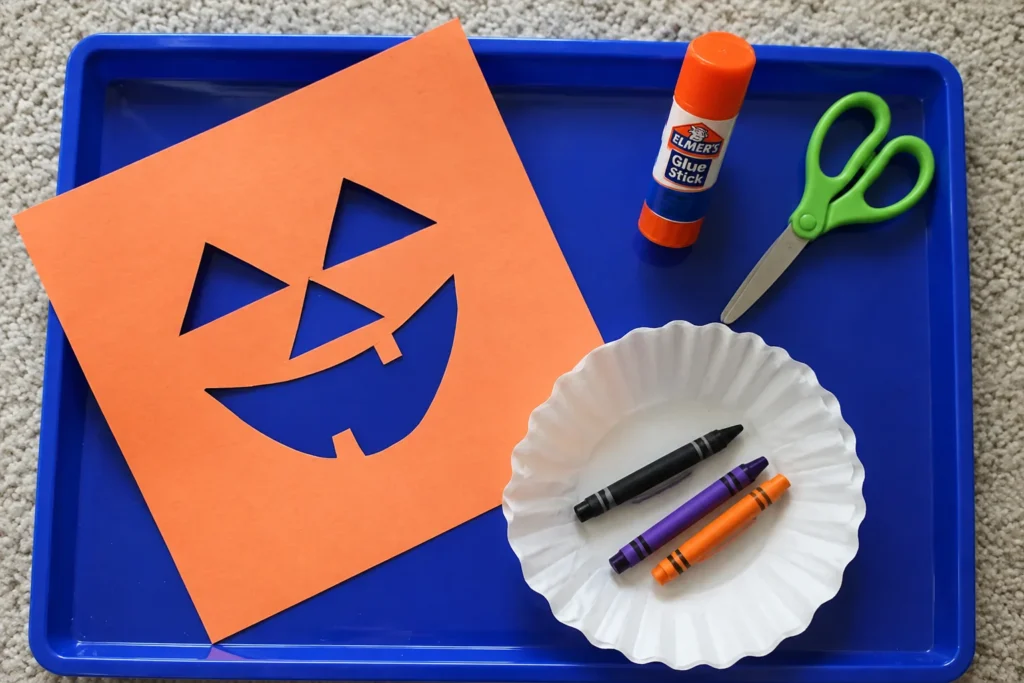
What You’ll Need
- White cardstock or thick paper
- Black construction paper
- Orange, purple, yellow, and red washable paint
- Paintbrushes or small sponge brushes
- Child safe scissors
- Glue stick
- Pencil
- Black marker
You can absolutely work with whatever colors you already have. Halloween art doesn’t have to stay strictly orange and black.
How to Make Halloween Art with Kids
1. Paint the Halloween Sky
Start with a sheet of thick white paper and let your child paint the entire background.
Orange, purple, yellow, and deep red work beautifully together. Kids can paint stripes, blend the colors, dab them on with a sponge, or forget the plan completely and make their own version.
Let the background dry before adding anything on top.
2. Choose Your Spooky Shapes
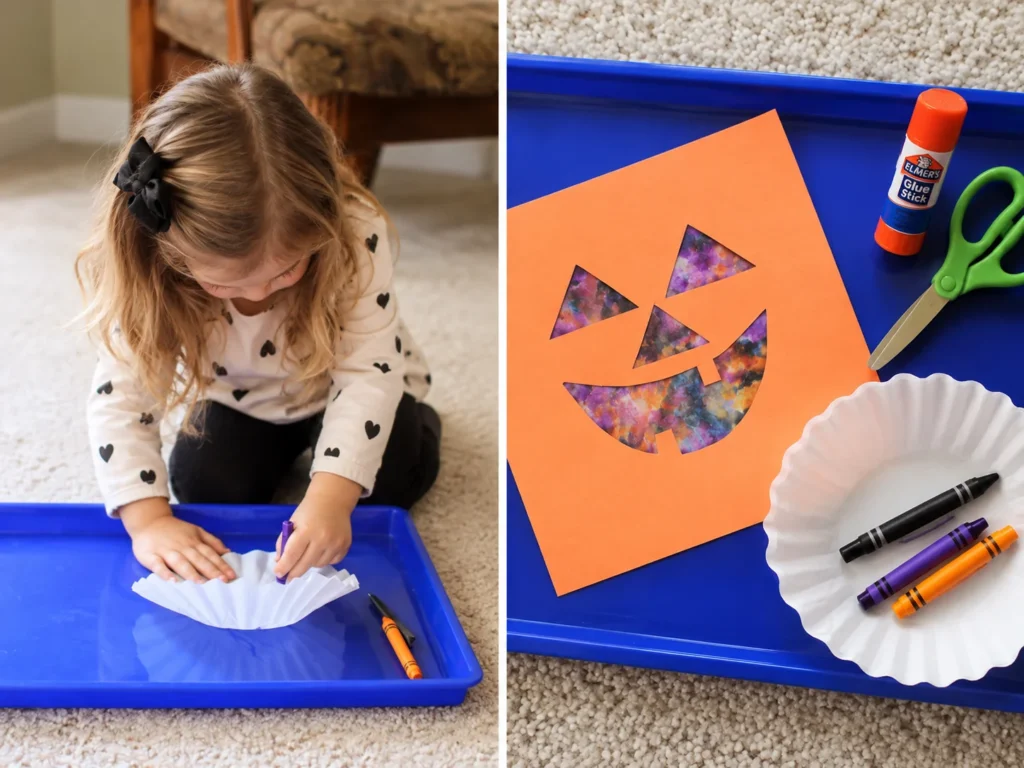
While the paint dries, decide what should appear in the Halloween scene.
A haunted house is fun, but you could also make pumpkins, ghosts, bats, cats, crooked trees, gravestones, or a big crescent moon.
Older children can draw and cut their own shapes. For younger kids, an adult can draw simple outlines for them to cut or prepare a few shapes ahead of time.
3. Cut Out the Silhouettes
Draw the Halloween shapes on black construction paper and carefully cut them out.
They really don’t need to be precise. A slightly crooked haunted house actually looks better here, and uneven branches make a spooky tree much more interesting.
Small children should use age appropriate scissors and have an adult nearby.
4. Build Your Halloween Scene
Once the painted background is completely dry, arrange the black shapes on top before reaching for the glue.
Move everything around until your child likes the scene. Maybe the haunted house sits at the bottom with bats overhead, or perhaps a giant pumpkin takes up half the page.
Then glue each piece into place.
5. Add the Little Details
Now comes my favorite part because this is where every picture starts looking different.
Use a black marker to add windows, spiderwebs, tiny bats, pumpkin faces, fence posts, stars, or anything else your child thinks belongs in the picture.
If the haunted house needs six chimneys and a purple ghost floating above it, I’d say go with it.
Try a Few Different Halloween Designs
Once the basic idea makes sense, kids can make several pictures without repeating the exact same project.
Haunted House at Sunset
Paint the background orange and purple, then add a tall black house with crooked windows and bats flying overhead.
Pumpkin Patch
Cut several pumpkin shapes from orange paper and place them along the bottom of a dark painted sky. Give every pumpkin a different expression.
Spooky Forest
Make tall, twisting trees from black paper and add a large yellow moon behind them.
A few tiny bats make the whole picture feel instantly more Halloweenish.
Friendly Ghost Night
Instead of making everything spooky, cut white ghosts and place them against a purple and orange background.
Kids can draw different faces on each ghost, and the sillier they are, the better.
Black Cat and Moon
Make a big yellow moon and place a black cat silhouette in front of it.
Add stars, bats, or a rooftop along the bottom to finish the nighttime scene.
Make It Easier for Younger Kids
Preschoolers don’t need to do every part of this project themselves.
Prepare a handful of large Halloween shapes ahead of time and let them concentrate on painting, arranging, and gluing. Bigger pieces are easier for little hands to manage than tiny bats or detailed windows.
You can also skip the scissors completely and let younger children make fingerprints, sponge shapes, or simple painted pumpkins.
The goal isn’t a perfectly finished Halloween decoration. It’s giving them enough freedom to actually feel like the artwork belongs to them.
What Can You Do With the Finished Halloween Art?
Don’t let those spooky masterpieces disappear into a pile of paper.
Tape a few to the refrigerator, hang them together as a little Halloween gallery, or use removable tape to decorate a hallway. Smaller pictures can become homemade Halloween cards for grandparents and family.
I also love writing the child’s name and year quietly on the back. Those details are surprisingly easy to forget when you pull the artwork out again a few Halloweens later.
Halloween crafts don’t need to be complicated to be fun. A little paint, some paper, and permission to make a wonderfully wonky haunted house can fill an October afternoon quite nicely.