
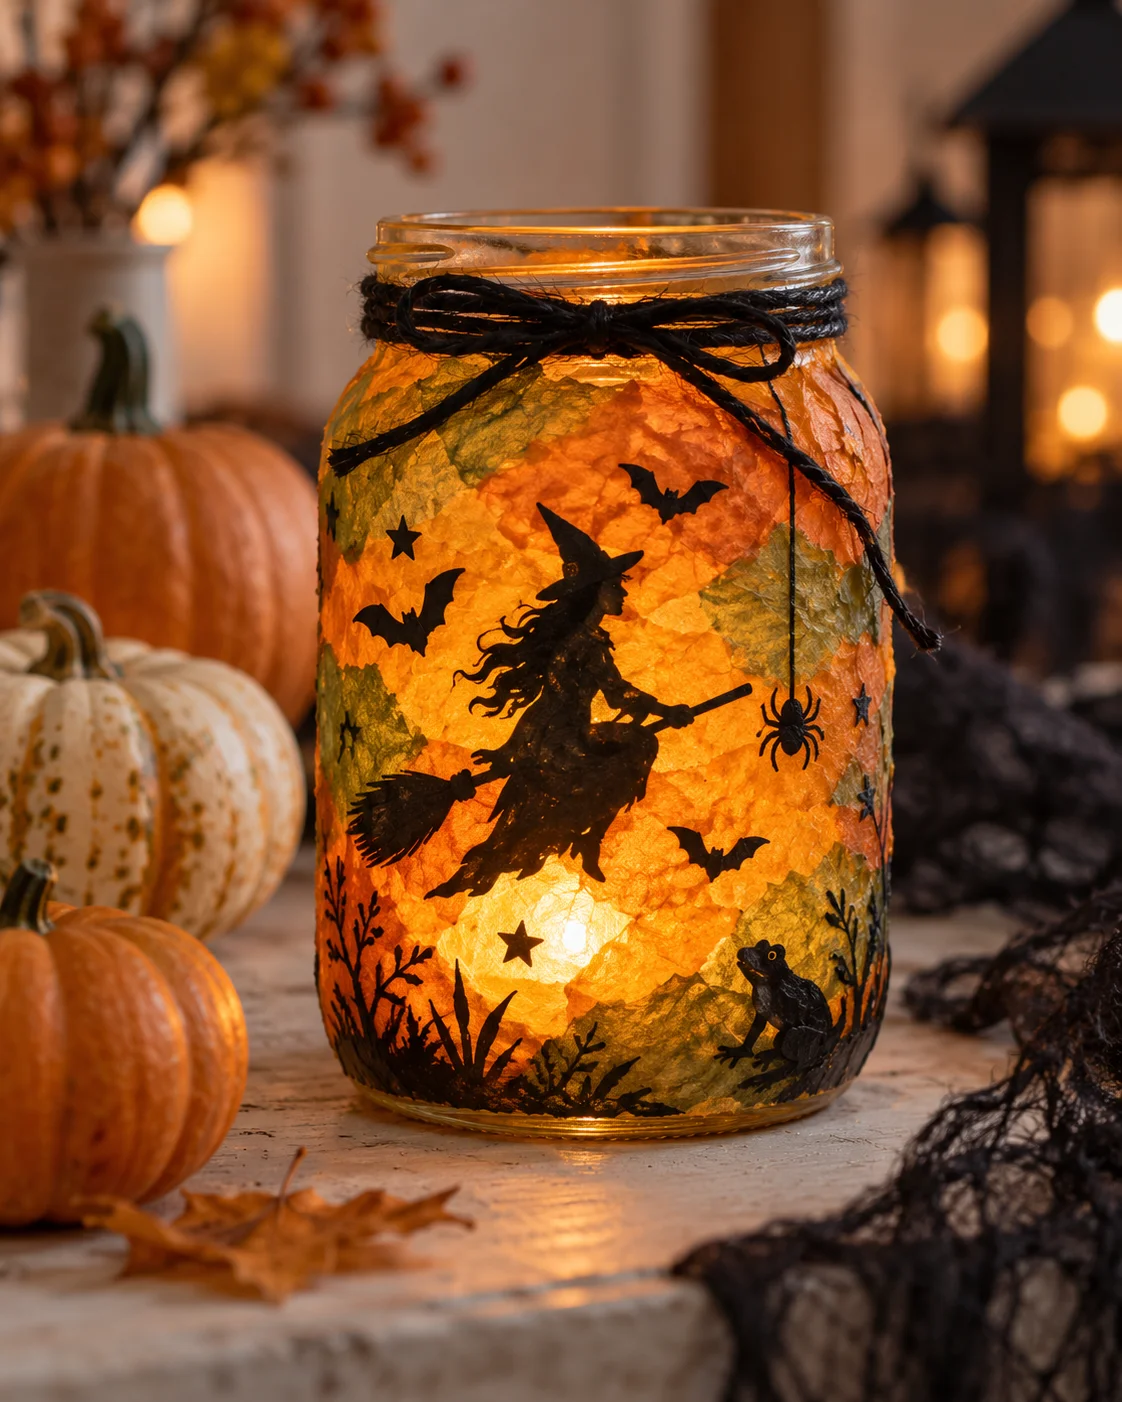
Looking for a fun and simple Halloween craft that adds a cozy spooky glow to your home? This DIY witch lantern jar is an easy project using a glass jar, tissue paper, glue, Halloween cut-outs, and a battery-operated tea light. It is perfect for decorating a mantel, table, windowsill, classroom, or Halloween party setup.
The best part is that this craft is budget-friendly, beginner-friendly, and safe when you use an LED tea light instead of a real candle.
What Is a Witch Lantern Jar?
A witch lantern jar is a decorated glass jar covered with colorful tissue paper and Halloween silhouettes. When you place a small LED tea light inside, the tissue paper glows beautifully and the black Halloween shapes stand out like spooky shadows.
For this design, orange and green tissue paper create a warm Halloween look, while witch, bat, spider, star, and frog cut-outs make the jar feel magical and festive.
Materials You’ll Need

To make this Halloween lantern jar, you will need:
- A clean glass jar
- Orange tissue paper
- Green tissue paper
- Glue or Mod Podge
- A paintbrush
- Scissors
- Printed Halloween cut-outs
- Black paper or black printable silhouettes
- Black twine or ribbon
- Battery-operated LED tea light

Do not use a real candle inside the jar. Tissue paper and glue are flammable, so an LED tea light is the safest choice.
Step 1: Clean and Dry the Jar
Start with a clean glass jar. Remove any labels and wash away sticky residue. Dry the jar completely before decorating.
This step is important because glue sticks better to clean glass. If the jar is wet or oily, the tissue paper may peel off later.
Step 2: Tear the Tissue Paper
Tear orange and green tissue paper into small pieces. The pieces do not need to be perfect. In fact, uneven edges make the lantern look more handmade and textured.
Use more orange tissue paper if you want a classic pumpkin-style glow, or add more green for a witchy, magical look.
Step 3: Glue the Tissue Paper onto the Jar
Brush a thin layer of glue or Mod Podge onto a small section of the jar. Press a piece of tissue paper onto the glue, then smooth it gently with your fingers or the brush.
Continue adding pieces around the jar. Slightly overlap the tissue paper to create a stained-glass effect. Try mixing orange and green pieces so the colors look balanced.
Once the jar is covered, brush another thin layer of glue over the tissue paper to seal it. Let it dry completely.
Step 4: Add Halloween Cut-Outs
After the tissue paper layer is dry, glue black Halloween cut-outs onto the jar. A large witch silhouette works beautifully as the main design.
You can also add:
- Bats
- Stars
- A hanging spider
- A frog
- Grass or branch silhouettes
- Small spooky shapes
Place the biggest shape in the center, then arrange smaller shapes around it. This helps the jar look balanced when it glows.
Step 5: Decorate the Rim
Wrap black twine, string, or ribbon around the top of the jar. Tie it into a small bow for a finished look.
This simple detail makes the lantern feel more polished and adds a nice handmade Halloween touch.
Step 6: Add the LED Tea Light
Place a battery-operated LED tea light inside the jar. Turn it on and watch the lantern glow through the orange and green tissue paper.
The black silhouettes will appear like spooky shadows, making the jar perfect for Halloween night.
Safety Note
Use only a battery-operated LED tea light for this craft. Do not place a real candle inside the jar. Always turn off the LED light when the lantern is not in use to save battery life.
Adult supervision is recommended, especially when children are using scissors or glue.
Tips for the Best Result
Use thin tissue paper so the light can shine through clearly. Avoid using too much glue at once, because it can tear the tissue paper. Let each layer dry before adding more decorations.
For a stronger glow, use a warm white LED tea light. For a spookier look, try an orange or flickering LED light.
Where to Display Your Witch Lantern Jar
This Halloween lantern looks great in many places around the home. You can display it on a mantel, entryway table, windowsill, bookshelf, party table, or beside pumpkins and faux spider webs.
You can also make several jars with different Halloween silhouettes and arrange them together for a glowing spooky centerpiece.
Final Thoughts
This DIY witch lantern jar is a simple Halloween craft with a beautiful final result. With just a glass jar, tissue paper, glue, and an LED tea light, you can create a glowing decoration that feels festive, cozy, and magical.
It is a great project for kids, families, teachers, or anyone who loves easy handmade Halloween decor.